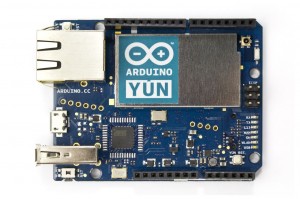
The newest addition to my swarm of never ending pile of interesting electronics is the Arduino Yún.
As I was getting some parts from Newark Canada, I just thought, well i’ll get myself an Yún to play with as well.
Yún means Cloud in Mandarin, so it’s quite obvious it is an Arduino meant to be connected to the cloud (Internet of Things).
As I usually do, I hack into the deeper workings of devices, and in the case of the Yún, there will be no difference.
I will dig deeper into it’s internals – have You ever seen the “Black magic” hiding under the shield? I haven’t.
Also, later I will look into how much power this unit takes, and to see if there is any way to tweak the power usage.
Setting up the Yún was a breeeze – I followed the instructions over at http://arduino.cc/en/Guide/ArduinoYun
Quickly I had it connected to my own WiFi-network, and programming it over Wifi with Arduino 1.5.7 (Beta at the moment) worked quite nicely.
Well, let’s get to the point, what exactly is hiding under that EMI-shield?
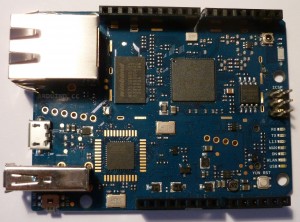
A quick desolder job with the Solder-wick (Chemtronics 10-100L, the best money can buy!) and the cover was off.
Aha! – three chips – that ain’t much.
On the left we have a Winbond W9751G6KB-25 – 16 Bit DDR2-RAM – this is the main memory for the DD-WRT linux-environment that the Yún runs.
In the center there is the Atheros AR9331-AL1A Wireless SOC – This is where all the magic happens.
And on the Right, once again from Winbond, a 25Q128FVSG – a 128 MegaBit Boot-flash, using SPI-interface.
So, now you know what hides under the shield, and you do not need to void the Warranty on your Yún to find out 😀
– Due to time constraints, I will leave the power-measurements to the next blog-post, as I need some time to gather readings, and present them in a usable manner.

